Installing DotNet Development Environment on Windows
This guide provides step-by-step instructions to set up the .NET development environment on a Windows operating system.
Step 1: Download the .NET SDK Installer
- Open a web browser and navigate to the official .NET download page.
- Select the version of .NET you want to install (e.g., .NET 7 or .NET 6 LTS).
- Click on the Download .NET SDK button for Windows.
Step 2: Install the .NET SDK
- Locate the downloaded
.exe installer file in your Downloads folder.
- Double-click the installer to launch the installation wizard.
- Follow the prompts:
- Accept the license agreement.
- Choose installation options (default options are usually sufficient).
- Click Install to begin the installation process.
- Wait for the installer to complete and click Finish.
Step 3: Verify Installation
- Open a Command Prompt or PowerShell window.
- Type the following command to check if .NET is installed:
dotnet --version
You should see the installed version number (e.g., 7.0.x).
Step 4: Create a Sample .NET Project
- Open a Command Prompt or PowerShell window.
- Create a new project by running:
dotnet new console -o MyFirstApp
- Navigate to the project folder:
cd MyFirstApp
- Run the application:
dotnet run
You should see output like Hello, World!.
Troubleshooting Tips
- Problem:
dotnet command not recognized.
- Solution: Ensure the .NET SDK is added to your system PATH. Restart your computer if necessary.
- Problem: Installation fails due to missing dependencies.
- Solution: Install the latest Windows updates and retry.
Congratulations! You have successfully set up the .NET development environment on your Windows machine. You are now ready to start building .NET applications!
Installing DotNet Development Environment on macOS
This guide provides step-by-step instructions to set up the .NET 9.0 development environment on macOS.
Step 1: Download the .NET SDK Installer
- Open a web browser and navigate to the .NET 9.0 download page.
- Under the SDK section, select the macOS installer (
.pkg) that matches your macOS version.
- Click the Download button to start the download.
Step 2: Install the .NET SDK
- Locate the downloaded
.pkg file in your Downloads folder.
- Double-click the
.pkg file to launch the installer.
- Follow the on-screen instructions:
- Read and agree to the license agreement.
- Confirm the installation location (default location is recommended).
- Click Install and enter your macOS administrator password when prompted.
- Wait for the installation to complete, and then click Close.
Step 3: Verify Installation
- Open the Terminal application.
- Run the following command to verify the installation:
dotnet --version
You should see the installed version number (e.g., 9.0.x).
Step 4: Create a Sample .NET Project
- Open the Terminal.
- Create a new project by running:
dotnet new console -o MyFirstApp
- Navigate to the project folder:
cd MyFirstApp
- Run the application:
dotnet run
You should see output like Hello, World!.
Step 5: Update the Path (If Necessary)
If the dotnet command is not recognized, you may need to add the .NET tools to your PATH manually:
- Open the Terminal.
- Locate the .NET installation path:
/usr/local/share/dotnet
- Add the path to your shell configuration file:
- If using
zsh (default shell for macOS), edit ~/.zshrc:
nano ~/.zshrc
export PATH="$PATH:/usr/local/share/dotnet"
- Save the file and reload the shell configuration:
source ~/.zshrc
- Verify the
dotnet command again:
dotnet --version
Troubleshooting Tips
1. dotnet Command Not Recognized
- Solution: Ensure the .NET SDK is added to your PATH. Refer to Step 5 above to manually configure your PATH.
2. Installation Fails with “Unsupported macOS Version”
- Solution: Verify that your macOS version is compatible with .NET 9.0. Update macOS to the latest version if necessary.
3. Permissions Issues During Installation
- Solution: Ensure you have administrator privileges. If the problem persists, try running the installer from the Terminal with elevated privileges:
sudo installer -pkg path/to/installer.pkg -target /
4. Cannot Run Applications Due to Missing Dependencies
- Solution: Ensure that all macOS updates are installed. Run:
softwareupdate --install --all
5. .NET Project Build Errors
- Solution: Clear the NuGet cache and restore packages:
dotnet nuget locals all --clear
dotnet restore
Congratulations! You have successfully installed the .NET 9.0 development environment on your macOS. You can now start building .NET applications.
Installing DotNet Development Environment on Linux
This guide provides step-by-step instructions to set up the .NET 9.0 development environment on a Linux operating system.
Step 1: Choose Your Linux Distribution
Before starting, identify your Linux distribution. This guide includes steps for the following popular distributions:
- Ubuntu/Debian
- Fedora
- CentOS/RHEL
For other distributions, refer to the official .NET documentation.
Step 2: Install the .NET SDK
For Ubuntu/Debian
- Update the Package Index:
sudo apt update
- Install Required Dependencies:
sudo apt install -y wget apt-transport-https
- Add Microsoft’s Package Repository:
wget https://packages.microsoft.com/config/ubuntu/$(lsb_release -rs)/packages-microsoft-prod.deb -O packages-microsoft-prod.deb
sudo dpkg -i packages-microsoft-prod.deb
- Install the .NET SDK:
sudo apt update
sudo apt install -y dotnet-sdk-9.0
For Fedora
- Add Microsoft’s Package Repository:
sudo dnf install -y dotnet-sdk-9.0
For CentOS/RHEL
- Add Microsoft’s Package Repository:
sudo dnf install dotnet-sdk-9.0
Step 3: Verify Installation
- Open a Terminal.
- Check the installed .NET version:
dotnet --version
You should see the installed version, e.g., 9.0.x.
Step 4: Create a Sample .NET Project
- Open a Terminal.
- Create a new project:
dotnet new console -o MyFirstApp
- Navigate to the project folder:
cd MyFirstApp
- Run the application:
dotnet run
You should see the output: Hello, World!.
Troubleshooting Tips
1. dotnet Command Not Found
- Solution: Ensure the .NET SDK is installed and added to your PATH.
- For Ubuntu/Debian: Verify with
sudo apt install dotnet-sdk-9.0.
- For Fedora/CentOS: Verify with
sudo dnf install dotnet-sdk-9.0.
2. Compatibility Issues with Older Linux Versions
- Solution: Ensure your Linux distribution is updated to a supported version. Check .NET 9.0 system requirements in the official documentation.
3. Package Repository Errors
- Solution: Clear package cache and try again:
- For Ubuntu/Debian:
sudo apt update --fix-missing.
- For Fedora/CentOS:
sudo dnf clean all.
4. Cannot Build or Run .NET Applications
- Solution: Restore NuGet packages:
dotnet restore
5. Missing Dependencies
- Solution: Install essential libraries:
- Ubuntu/Debian:
sudo apt install -y libssl-dev libcurl4-openssl-dev zlib1g
sudo dnf install -y openssl-devel libcurl-devel zlib
Congratulations! You have successfully set up the .NET 9.0 development environment on Linux. You are now ready to start building .NET applications.
Installing DotNet Development Environment on Docker
This guide provides step-by-step instructions to set up the .NET 9.0 development environment using Docker.
Prerequisites
Ensure you have the following installed:
Step 1: Pull the Official .NET Docker Image
- Open a terminal.
- Pull the official .NET 9.0 SDK Docker image from Docker Hub:
docker pull mcr.microsoft.com/dotnet/sdk:9.0
This image contains the .NET 9.0 SDK and runtime.
Step 2: Verify the Image is Downloaded
- List all Docker images to confirm the .NET SDK image is available:
docker images
You should see an entry like this:
REPOSITORY                  TAG       IMAGE ID       CREATED        SIZE
mcr.microsoft.com/dotnet/sdk  9.0     <image_id>     <timestamp>    <size>
Step 3: Create and Run a Container
- Create and run a Docker container interactively:
docker run -it --name dotnet-dev mcr.microsoft.com/dotnet/sdk:9.0
- You will now be inside the container’s shell. Verify the .NET version:
dotnet --version
It should display 9.0.x.
Step 4: Develop Inside the Container
Option 1: Create a New .NET Project
- Inside the container, create a new .NET project:
dotnet new console -o MyFirstApp
- Navigate to the project directory:
cd MyFirstApp
- Run the application:
dotnet run
You should see the output: Hello, World!.
Option 2: Mount a Local Directory
To work on projects stored on your host machine:
- Stop the container if it’s running:
docker stop dotnet-dev
- Restart the container, mounting your local directory (e.g.,
/path/to/code) to the container:
docker run -it --rm -v /path/to/code:/app --workdir /app mcr.microsoft.com/dotnet/sdk:9.0
- Inside the container, navigate to your project and build or run it:
dotnet restore
dotnet run
Step 5: Cleanup
To remove the container and image when no longer needed:
- Stop the container:
docker stop dotnet-dev
- Remove the container:
docker rm dotnet-dev
- Remove the image:
docker rmi mcr.microsoft.com/dotnet/sdk:9.0
Troubleshooting Tips
1. docker: command not found
2. Cannot Pull the Image
- Solution: Verify your internet connection and Docker Hub access. Use the
--platform flag if running on ARM-based systems (e.g., Apple Silicon):
docker pull --platform linux/arm64 mcr.microsoft.com/dotnet/sdk:9.0
3. Permission Denied Errors
- Solution: Ensure your user has permission to run Docker commands. Add your user to the
docker group:
sudo usermod -aG docker $USER
Log out and back in, then retry.
4. Code Changes Not Reflected
- Solution: If using a mounted volume, ensure you save changes to your local files before running the application.
5. Issues with File Permissions
- Solution: Set appropriate permissions on mounted files and directories to ensure the container can access them.
Congratulations! You have successfully set up a .NET 9.0 development environment using Docker. You can now build, run, and test your .NET applications in an isolated containerized environment.
VS Code Environment
When using VS Code we recommend installing the following extensions:
editorconfig.editorconfig
Extension for Visual Studio Code.

davidanson.vscode-markdownlint
Extension for Visual Studio Code.

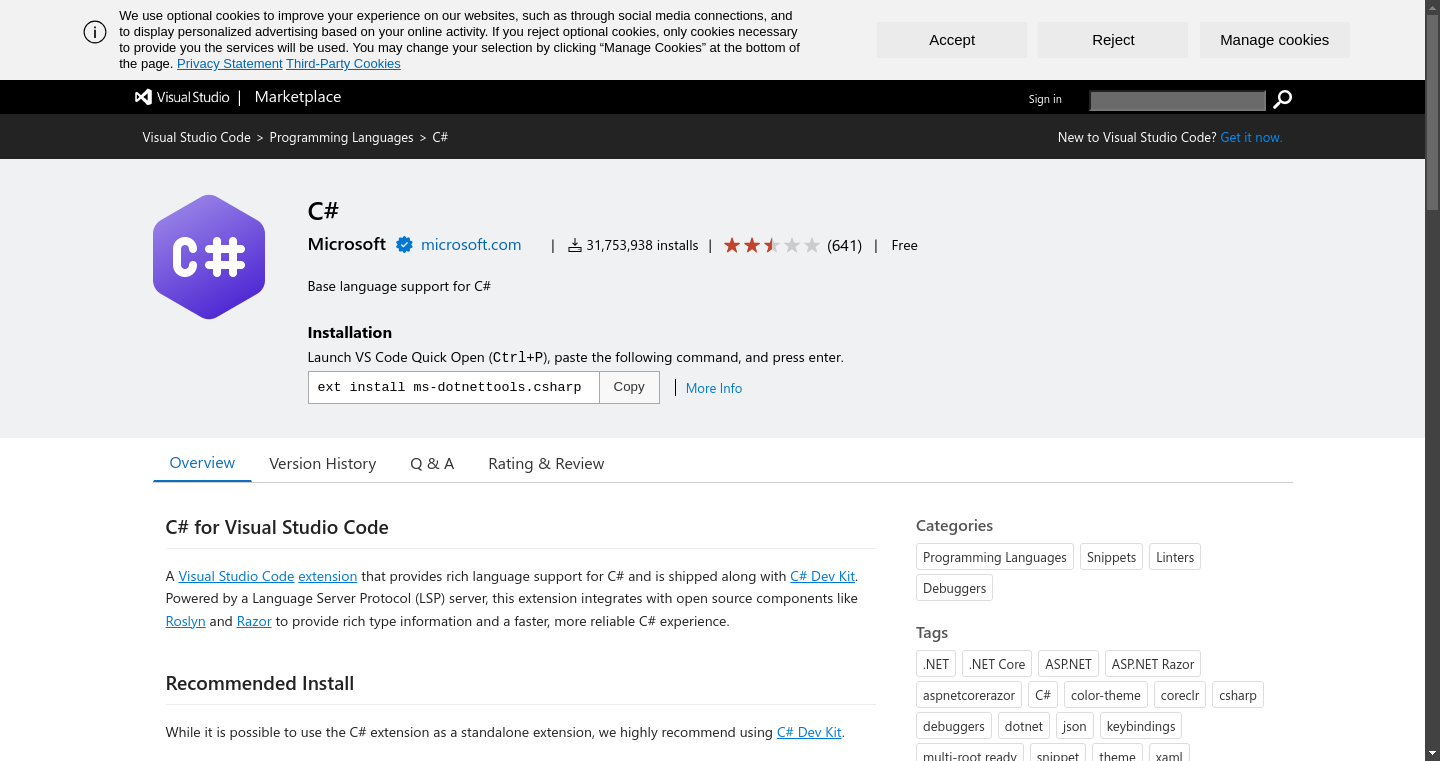
ms-dotnettools.csharp
Extension for Visual Studio Code.
C# Dev Kit
C# Dev Kit helps you manage your code with a solution explorer and test your code with integrated unit test discovery and execution, elevating your C# development experience wherever you like to develop.

Docker
Makes it easy to create, manage, and debug containerized applications.

CLI Tooling
The tooling CLI tooling would be beneficial to have setup:
More details coming soon
