Installing Golang on Windows
Step 1: Download the Installer
- Visit the official Go download page: https://go.dev/dl/
- Download the Windows installer package (
.msi) file. The filename will be similar to go<version>.windows-amd64.msi.
Step 2: Install Golang
- Run the downloaded
.msi file.
- Follow the prompts in the installer to complete the installation.
Step 3: Verify the Installation
- Open the Command Prompt or PowerShell.
- Verify the installation by running the following command:
go version
You should see the Go version information if the installation was successful.
Step 4: Set Up the Go Environment
- Open the Environment Variables dialog:
- Right-click on
This PC or Computer on the desktop or in File Explorer.
- Select
Properties.
- Click on
Advanced system settings.
- Click on the
Environment Variables button.
- Add a new user variable:
- Variable name:
GOPATH
- Variable value:
C:\Users\<YourUsername>\go
- Edit the
Path variable in the System variables section and add a new entry:
Installing Golang on macOS
Step 1: Download the Installer
- Visit the official Go download page: https://go.dev/dl/
- Download the macOS installer package (
.pkg) file. The filename will be similar to go<version>.darwin-amd64.pkg.
Step 2: Install Golang
- Open the downloaded
.pkg file.
- Follow the prompts in the installer to complete the installation.
Step 3: Verify the Installation
- Open the Terminal application.
- Verify the installation by running the following command:
go version
You should see the Go version information if the installation was successful.
Step 4: Set Up the Go Environment
- Open or create a
.bash_profile or .zshrc file in your home directory.
- Add the following lines to set up the Go environment variables:
export GOPATH=$HOME/go
export PATH=$PATH:/usr/local/go/bin:$GOPATH/bin
- Apply the changes by running:
source ~/.bash_profile # or source ~/.zshrc
Installing Golang on Linux
Step 1: Download the Archive
- Visit the official Go download page: https://go.dev/dl/
- Download the Linux tarball (
.tar.gz) file. The filename will be similar to go<version>.linux-amd64.tar.gz.
Step 2: Install Golang
- Open a Terminal window.
- Extract the tarball to
/usr/local:
sudo tar -C /usr/local -xzf go<version>.linux-amd64.tar.gz
Step 3: Set Up the Go Environment
- Open or create a
.bashrc or .zshrc file in your home directory.
- Add the following lines to set up the Go environment variables:
export GOPATH=$HOME/go
export PATH=$PATH:/usr/local/go/bin:$GOPATH/bin
- Apply the changes by running:
source ~/.bashrc # or source ~/.zshrc
Step 4: Verify the Installation
- Open a Terminal window.
- Verify the installation by running the following command:
go version
You should see the Go version information if the installation was successful.
Following these steps, you should have Golang successfully installed on macOS, Windows, and Linux. You are now ready to start developing with Go!
Installing Golang using Docker
This guide will walk you through installing and running Golang using Docker on any platform that supports Docker. This approach allows you to use Golang without having to install it directly on your system.
Prerequisites
- Ensure Docker is installed on your machine. If Docker is not installed, you can download and install it from Docker’s official website.
Steps to Install and Run Golang with Docker
Step 1: Pull the Official Golang Docker Image
- Open your terminal (Command Prompt, PowerShell, or any terminal application).
- Pull the official Golang Docker image by running the following command:
docker pull golang
Step 2: Run a Golang Container
You can start a Golang container with a specific version or the latest version. Below are examples for both scenarios.
Running the Latest Version
- Run the following command to start a container with the latest version of Golang:
docker run -it --name golang-container golang
Running a Specific Version
- Visit the official Golang Docker Hub page to find the specific version tag you need.
- Run the following command, replacing
<version> with your desired version (e.g., 1.16):
docker run -it --name golang-container golang:<version>
Step 3: Verify the Installation
- Once inside the container, verify the Golang installation by running:
go version
You should see the Go version information if the installation was successful.
Step 4: Write and Run a Simple Go Program
- Create a new Go file, for example,
hello.go:
echo 'package main; import "fmt"; func main() { fmt.Println("Hello, Docker!") }' > hello.go
- Run the Go program:
go run hello.go
You should see the output:
Hello, Docker!
Step 5: Persisting Work
By default, any work done inside the container will be lost once the container is stopped and removed. To persist your work, you can mount a local directory to the container.
- Create a local directory to store your Go workspace, for example:
mkdir -p ~/go-workspace
- Run the Golang container with the local directory mounted:
docker run -it --name golang-container -v ~/go-workspace:/go golang
Now, any files created or modified within the /go directory inside the container will be reflected in your local ~/go-workspace directory.
Step 6: Stopping and Removing the Container
- To stop the running container, use the following command in another terminal:
docker stop golang-container
- To remove the container, use:
docker rm golang-container
Additional Tips
- To list all Docker containers, run:
docker ps -a
- To start an existing container, run:
docker start -i golang-container
- To remove all stopped containers, run:
docker container prune
Following these steps, you should be able to install and run Golang using Docker on any system that supports Docker. This method allows you to keep your development environment clean and isolated.
VS Code Environment
When using VS Code we recommend installing the following extensions:
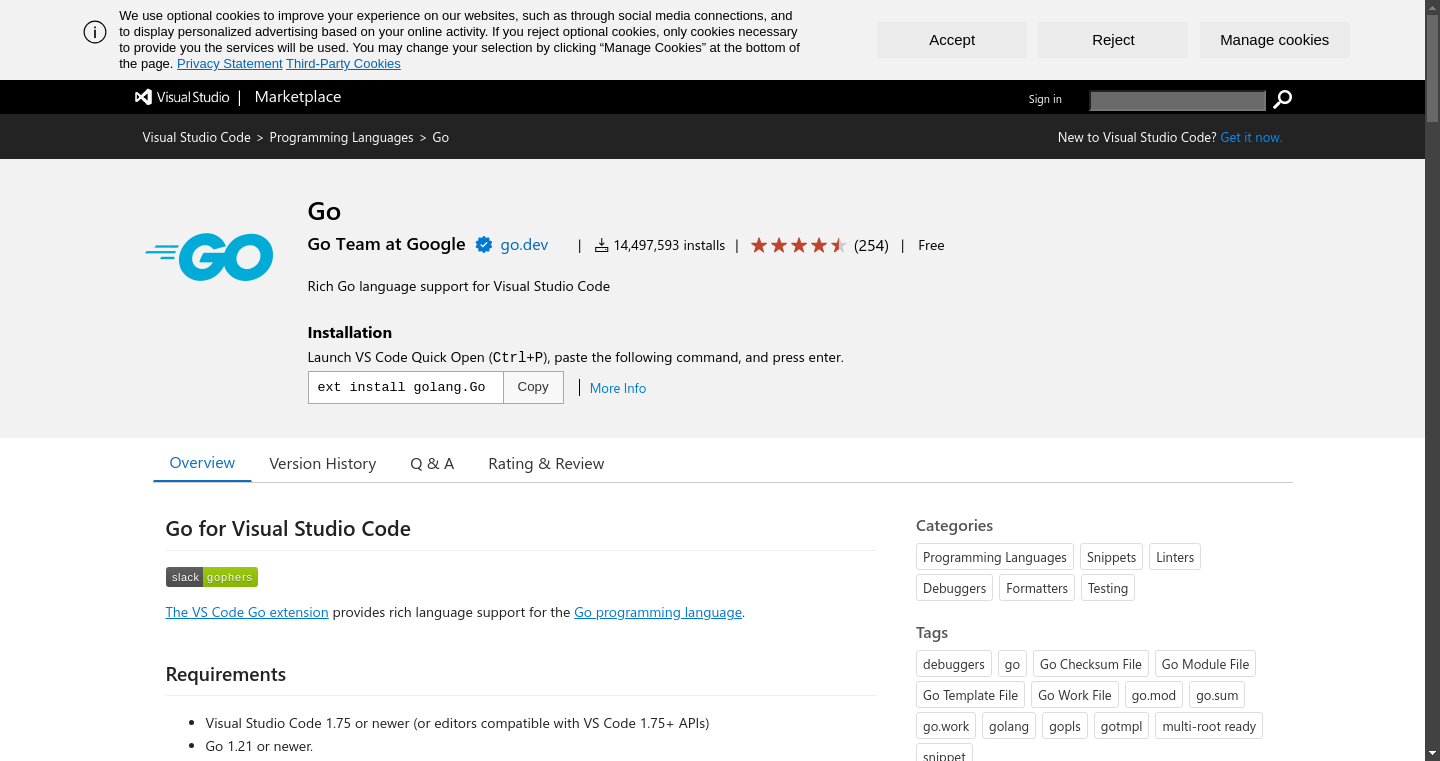
Golang VS Code
Go language support for Visual Studio Code.

Docker
Makes it easy to create, manage, and debug containerized applications.

CLI Tooling
The tooling CLI tooling would be beneficial to have setup:
Docker
Makefile
More details coming soon